Update May 2024: Unfortunately, Stonetack® is currently out of stock, so we have temporarily removed it from our catalog. However, if you are looking for natural stone for your interior walls, don’t hesitate to check out the products we offer for interior wall coverings: Inside Walls – Cupa Stone | Global

Would you like to create a beautiful reading nook in your home? Let’s make it easier! Do it yourself (DIY) with STONETACK™, the first adhesive natural slate panel.
The new STONETACK™ panels, a CUPA STONE exclusive product, are composed natural slate pieces mounted on a base with a highly adhesive that ensures a perfect fixation to the wall.
CHOOSE A UNIFORM SURFACE
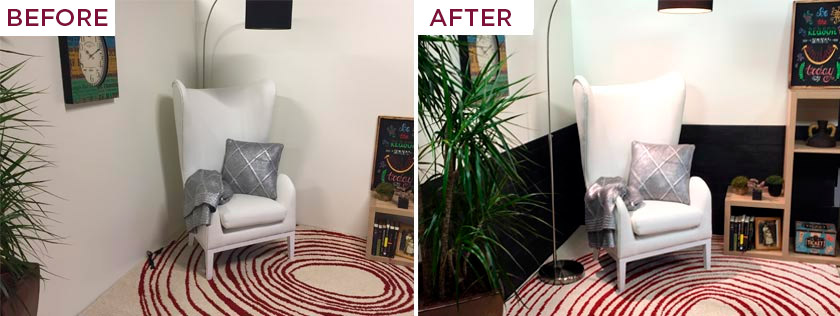
For this project, we decided to use STONETACK™ to create a cozy reading corner using our natural slate panels and contemporary decorative elements. The painted wall was in perfect conditions.
The wall where we are going to install the panels should be perfectly smooth, level, solid and compact, that does not pose risks of cohesion failure. STONETACK™ can be installed on varnished wood, ceramic tiles and smooth cement. It is not recommended to be used on wallpaper, unprimed plaster or non-cohesive supports such as cardboard.
PLAN YOUR DESIGN BEFORE INSTALLING

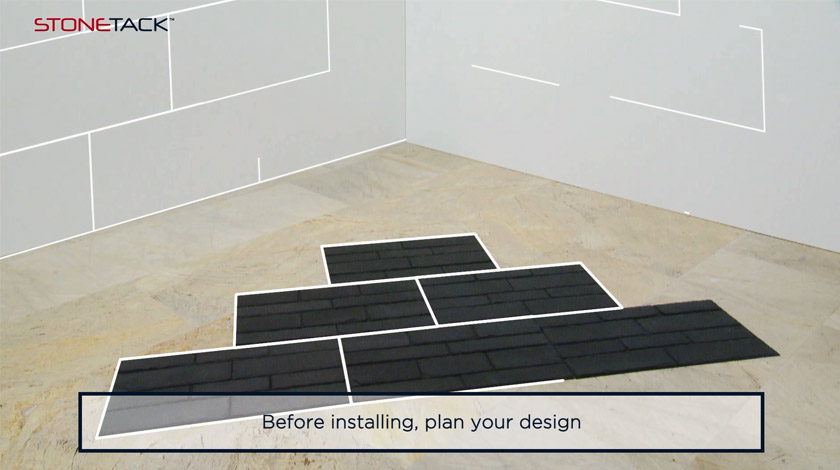
Before installing, plan your design on the floor, making your favourite composition. Be sure to locate the position where you wan to fix the panels before removing the protective film. Once the panel is adhered, it cannot be readjusted or removed.
We decided to install the product on the half part of the walls, to cover an area of about 4 square meters. Each box of STONETACK™ comes with 6 panels of 54×30 cm of surface and between 5.5 and 7.5 mm of thickness. So, we needed about 4 boxes of STONETACK™.
FIX THE PANELS IN ONLY 5 SECONDS
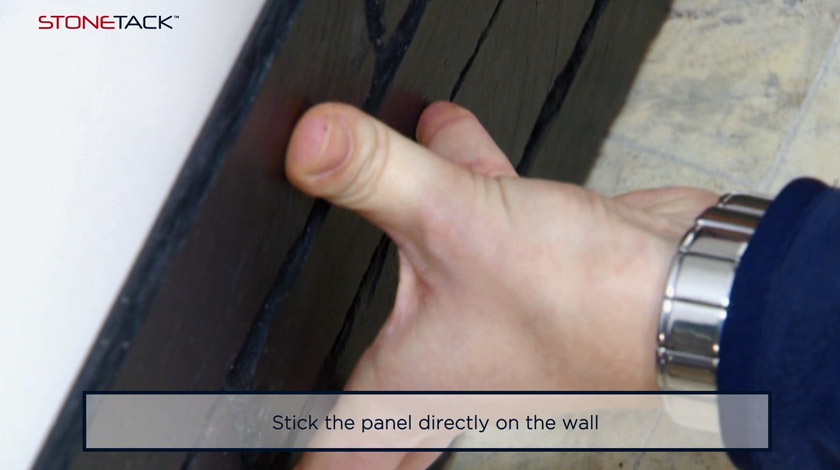
Before installing, clean the surface where the slate panels will be installed using a dry cloth. First, trace the guidelines with a pencil and then, you can install the panels following these steps: remove the protective film from the panel to the halfway point, position the panel, holding it on the lower part that is still covered with protective film and apply the upper part of the panel, removing the rest of the protective film to completely attach it. Press the panel to the wall with your hands for at least 5 seconds to adhere it.
DECORATE THE REST OF THE SPACE
You can use slate cutters, a jigsaw or a radial saw whith the appropiate blade for cutting natural stone. Use only gentle, fast-drying cleaning solutions. Ideally, dust should be removed by vacuuming. We used a white armchair in white tones, a floor lamp, a wall clock and some wooden shelves that fit perfectly with STONETACK™.


